Did you know that you can navigate the posts by swiping left and right?
Automate Gitlab backups within Amazon S3
08 Feb 2017
. category:
sysadmin
.
Comments
#sysadmin
#aws
#gitlab
#devops
Automate Gitlab backups within Amazon S3

Every day data keeps adding to your GitLab application’s production server and all is working fine. But you don’t realize that your server can crash due to a lot of reasons and sometimes by the time you realize all your data is lost. So, taking backup of your applications is as important as adding new features to them and it should be a part of maintaining your application.
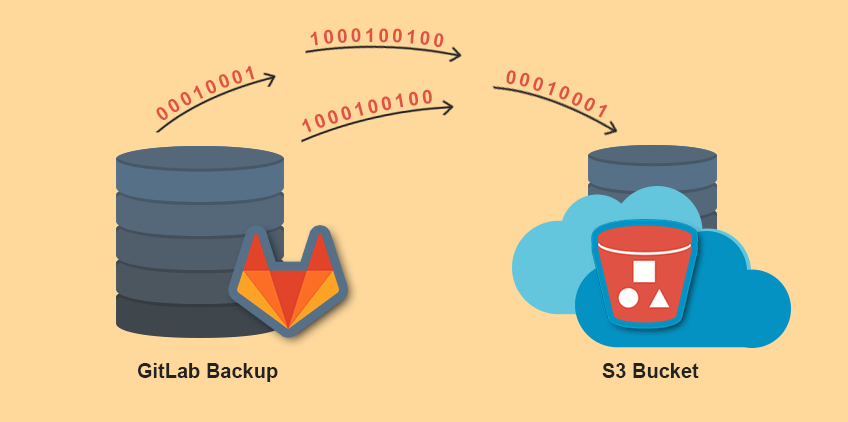
Manually taking repeatedly backups sometimes becomes too boring. So, automating the whole process of taking the backup of your GitLab repositories is a good idea. But the smart approach is to keep your backup archive in Amazon S3 bucket rather than gitlab server itself or in any other local repository server because if server crashes then your backups are lost too.
Creating Gitlab Backup :
A backup creates an archive file that contains the database, all repositories and all attachments. The filename will be [TIMESTAMP]_gitlab_backup.tar . To create backup use the following command if you’ve installed GitLab with the Omnibus package:
gitlab-rake gitlab:backup:create
To find the backup location, point to the gitlab configuration file such as /etc/gitlab/gitlab.rb. Backup archive location default:
/var/opt/gitlab/backups/
Upload backups to cloud storage ( Amazon S3 bucket) :
For omnibus packages, make the following entries in /etc/gitlab/gitlab.rb file :-
gitlab_rails['manage_backup_path'] = true
gitlab_rails['backup_path'] = "/var/opt/gitlab/backups"
gitlab_rails['backup_archive_permissions'] = 0644
gitlab_rails['backup_keep_time'] = 604800 # this may vary
gitlab_rails['backup_upload_connection'] = {
'provider' => 'AWS',
'region' => 'us-west-2', # specify the region in which your bucket is created
'aws_access_key_id' => 'your access key', # specify the access key of your IAM user
'aws_secret_access_key' => 'your secret key' # specify the secret access key of your IAM user
}
gitlab_rails['backup_upload_remote_directory'] = 'my s3 bucket' # your bucket name
If you are uploading your backups to S3 you will probably want to create a new IAM user with restricted access rights. To give the upload user access only for uploading backups create the following IAM profile, replacing my.s3.bucket with the name of your bucket:
{
  "Version": "2012-10-17",
  "Statement": [
    {
      "Sid": "Stmt1412062044000",
      "Effect": "Allow",
      "Action": [
        "s3:AbortMultipartUpload",
        "s3:GetBucketAcl",
        "s3:GetBucketLocation",
        "s3:GetObject",
        "s3:GetObjectAcl",
        "s3:ListBucketMultipartUploads",
        "s3:PutObject",
        "s3:PutObjectAcl"
      ],
      "Resource": [
        "arn:aws:s3:::my.s3.bucket/*"
      ]
    },
    {
      "Sid": "Stmt1412062097000",
      "Effect": "Allow",
      "Action": [
        "s3:GetBucketLocation",
        "s3:ListAllMyBuckets"
      ],
      "Resource": [
        "*"
      ]
    },
    {
      "Sid": "Stmt1412062128000",
      "Effect": "Allow",
      "Action": [
        "s3:ListBucket"
      ],
      "Resource": [
        "arn:aws:s3:::my.s3.bucket"
      ]
    }
  ]
}
Next step is to reconfigure your gitlab after making these changes. Run the following command:
gitlab-ctl reconfigure
Setup Cron :
Lets setup a cron job to create gitlab backup at 1 am everyday :
0 1 * * * /usr/bin/gitlab-rake gitlab:backup:create
Once you are done with the above mentioned gitlab configuration, this cron job will simply create a backup of your gitlab everyday at 1AM and sync that backup to your cloud storage location i.e. Amazon S3 bucket specified in gitlab.rb file. Therefore, you don’t have to bother about manually taking everyday backups and maintain a local repo server for storing those backups. Hope this helps !
